Some people suggest finger loop braiding as the technique to achieve the right braiding pattern, but since I din't come across a pattern that would recreate a close enough resemblance to the original piece for my liking, I left it out.
Another possibility would be a different form of loop braiding, recently known as scoubidou braiding.
It is possible to get a triangular profile with this kind of braiding. If you use 3 strands of yarn, you will end up with a braid, that looks triangular from the top, but the problem is, it still turns into a spiral shaped braid, which is not the look of the original braid from Birka.
So, let's try another technique. 5 single strands of yarn, starting with a simple kot and securing it with a pin to a surface of your liking. I like to pin it to the knee and sit somewhere comfy.
I used different colours, so you can actually see what is happening while braiding.
First, put two strands on one side and the remaining three strands on the other side.
Then put thread 5 over 4, 3 and 2, placing it between 1 and 2.
Now, place thread 1 over 5 and 2, placing it between 2 and 3.
Take thread 2 and kind of twist it over 1, so it now is placed between 1 and 3.
At this point I normally would tighten the whole thing, but I left this step out in this tutorial, as you wouldn't be able to see, what's happening next.
But please, if you try this, now is the perfect time to tighten your braid!
Basically, the braiding now starts from the beginning.
Put strand 4 over 3, 2 and 1, placing it between 5 and 1.
Put 1 over 4 and 1.
Twist 1 over 5, then tighten again.
If you follow these steps over and over again, you will end up with a braid like this:
Front
Back
To show you that this braid has a triangular cross section indeed, I put some pins on the sides of the braid:
And how does it look in direct comparison the the original one from Birka?
Well, I guess we have some resemblance there, more than with any of the other techniques.
(Picture from "Birka III. Die Textilfunde aus den Gräbern", Tafel 33:7)
A problem I came across while braidind was not loosing track of where I was, or rather where the threads should be when making a break. I solved this problem for me by using a scrap piece of cardboard and cutting some slots in it, so I could secure all the threads and the braid and start again after the break without any problem.
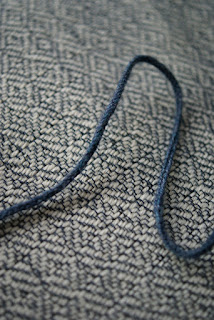
By using sock yarn weight wool I ended up with about the same size of the original piece.
I think I will use this as part of the new apron dress I'm planning with this lovely wool broken diamond twill soon! :)


Keine Kommentare:
Kommentar veröffentlichen